 |
||||
origami dino - folding instructions |
||||
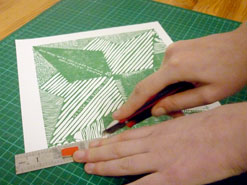 Take your hand printed lino cut dino design and cut out using a sharp knife, ruler and cutting mat. |
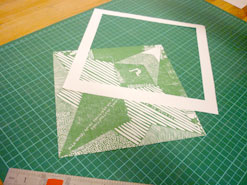 Be careful with sharp blades! |
|||
|
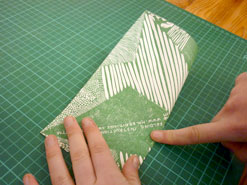 Now fold in half vertically & horizontally with the image on the outside. |
|||
|
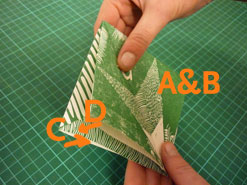 |
|||
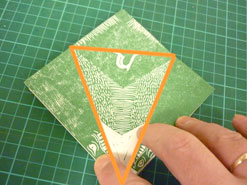 Next you will be making folds along the diagonals indicated. |
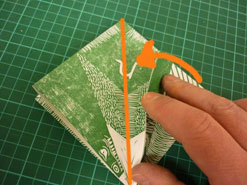 First - bring in each edge to the centre. Two on each side. |
|||
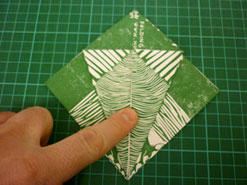 |
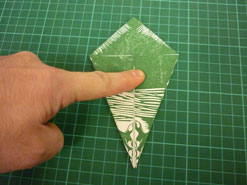 You should now have a kite shape. |
|||
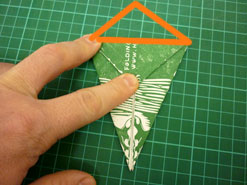 Bring down the top point. |
|
|||
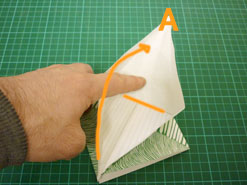 ... unfold ... |
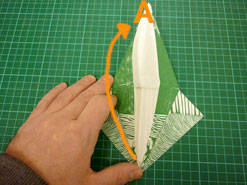 ... and use the diagonal creases you made earlier. |
|||
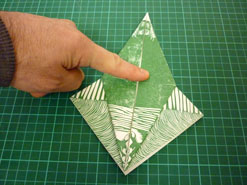 Do this on both sides to give you... |
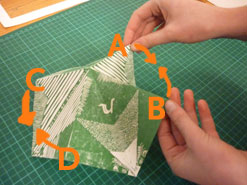
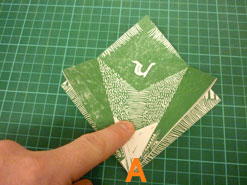
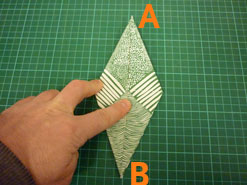 ...this. Now bring the top layer at point A down to meet point B. |
|||
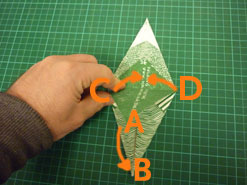 Then fold to make points C & D meet, to give you... |
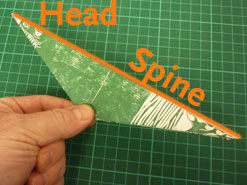 ...this. Then unfold.with the spine face up. The next step is tricky. |
|||
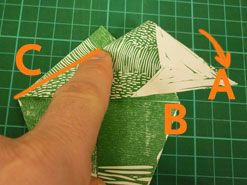 Take the head, point A and fold down towards point B. The lower edge should meet the two horizontal cuts. Crease at C. |
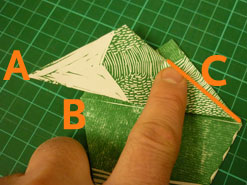 Unfold and repeat to the opposite side. The unfold again. |
|||
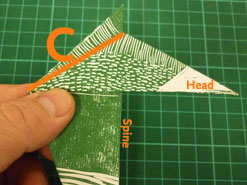 Now - while folding back along the spine also pull back on the head along the creases you made C. |
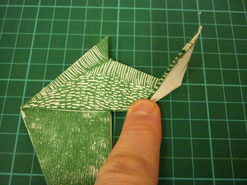 Crease in the diagonal at the head to allow the reverse fold to reveal the head. |
|||
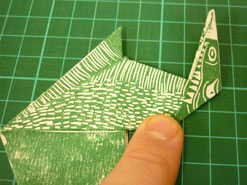 |
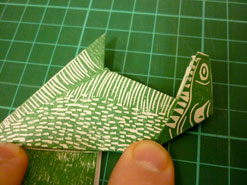
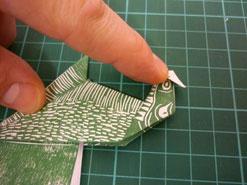 Preform a similar crease and reverse fold for the nose. |
|||
 |
|
|||
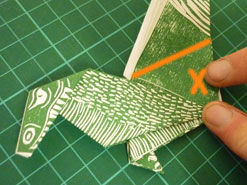 Before folding down the back legs along the line. You may want to apply a spot of glue or double sided tape at X |
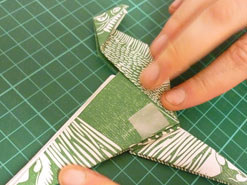 This will help your dino to stand up. |
|||
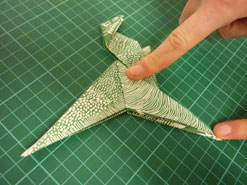 |
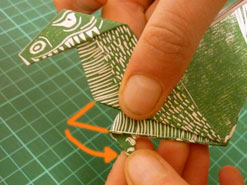
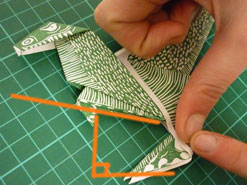 Now fold in the feet. Aim for the bottom of the feet to be parallel to the belly and at right angles to the back of the front legs. |
|||
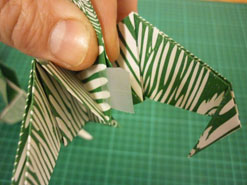 A spot of tape to hold the back together will help your dino stand. |
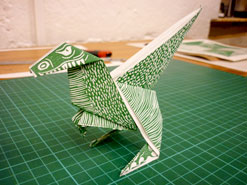 |
|||
| Design by Rachael Kidd | ||||

